
What to Expect with Dental Implants: Rancho Cucamonga Dentist Explains the Process?
Committing to tooth replacement is a transformative choice—one that supports both the strength of your smile and the lasting health and assurance of your oral well-being. Selecting a dental implant in Rancho Cucamonga can feel daunting until you know what each stage involves. Whether you discovered treatment options while searching for a dental office near you or received a referral from a friend, this guide breaks down the timeline, technology, and recovery milestones so you feel confident before scheduling your first visit.
Initial Assessment and 3-D Planning
Every successful implant begins with a comprehensive exam. Digital X-rays and cone-beam CT imaging reveal bone height, density, and nerve pathways. Your dentist measures the exact space once occupied by the natural root, ensuring the titanium post will integrate without impinging on vital structures. A health review clarifies systemic factors—such as diabetes management or smoking habits—that might slow healing. Clear communication about medications or previous jaw surgery allows the team to tailor a surgical plan uniquely suited to your anatomy.
Pre-Surgical Preparation and Bone Support
Occasionally, the scan shows insufficient bone volume. When that happens, guided bone regeneration or a sinus lift widens the available foundation. Minor grafts of synthetic or donor material can be placed in the same appointment as the fixture, but larger reconstructions may need four to six months to consolidate. Your dentist explains why waiting delivers stronger long-term stability, protecting the investment you make in dental implant treatment.
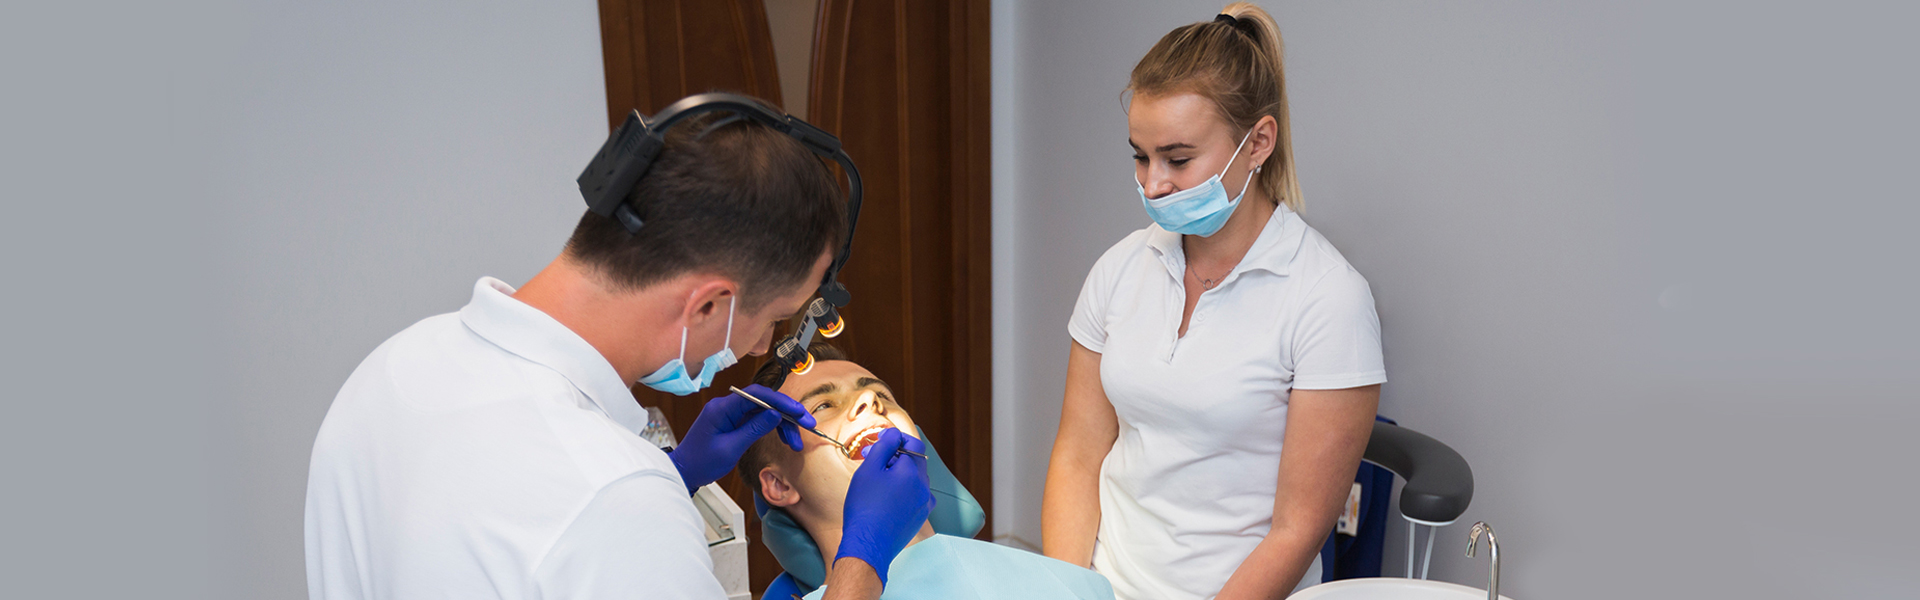
Precise Placement of the Implant Fixture
On surgery day you receive local anesthetic and, if desired, light oral or IV sedation for deeper relaxation. A small flap exposes the bone; computer-generated guides position the osteotomy at the predetermined angle and depth. The titanium post threads into place, anchoring firmly like a bolt in wood. A tiny healing cap or a low-profile cover screw keeps tissue out while osseointegration—fusion between bone and implant—takes hold over the next three to four months.
Healing Period and Interim Comfort
Post-operative care is remarkably straightforward. Most patients manage mild discomfort with over-the-counter pain relievers and cold compresses during the first twenty-four hours. Soft foods such as yogurt, porridge, scrambled eggs, and oatmeal nourish without stressing the site. Good oral hygiene continues with a soft brush and saline rinses, avoiding vigorous swishing that could disturb the clot—swelling peaks at forty-eight hours, then retreats. Stitches dissolve or are removed at a one-week follow-up, where the clinician ensures tissue health and reviews home-care techniques.
Uncovering and Abutment Placement
Once imaging confirms full integration, a brief second visit swaps the flat cover screw for a taller healing collar if one was not placed initially. This collar shapes the gum so it can hug the future crown snugly. After two weeks of soft-tissue maturation, impressions or digital scans capture the exact dimensions for the custom abutment and porcelain crown. Laboratory technicians shade-match adjacent teeth, creating translucency and surface texture that mimic natural enamel.
Final Crown Delivery and Occlusal Check
At the last appointment the custom abutment is tightened to manufacturer torque specifications, ensuring a bacteria-tight seal. The new crown seats over the abutment and is either cemented with resin or secured with an access-hole screw plug. The dentist verifies that upper and lower teeth meet evenly; an imbalanced bite can overload the implant and shorten its lifespan. Minor polish adjustments achieve seamless contact with neighboring teeth and surrounding gum tissue.
Long-Term Maintenance for Implant Health
Home care mirrors regular oral hygiene but adds a few considerations. Use low-abrasive paste to preserve porcelain glaze, and thread floss or an interdental brush around the abutment daily to prevent plaque buildup. Night guards protect against grinding forces that could loosen screws. Routine cleanings every six months let hygienists remove calculus with implant-safe instruments and allow the clinician to measure bone levels. Early detection of any changes keeps repair simple and cost-effective.
When to Call Your Provider?
Contact the practice immediately if you experience persistent swelling, mobility of the crown, or unusual taste around the fixture. Quick intervention often involves nothing more than tightening a screw or adjusting a bite spot, averting more extensive procedures.
Choosing Your Implant Team
Skill and technology vary widely among offices offering implants. Look for experience documented in before-and-after photos, in-house 3-D imaging, and transparent discussions about component brands and warranties. At Talent Dental, digital planning, gentle surgical technique, and personalized maintenance programs come together to provide a durable, natural-looking result.
Contact Us Today!
Dental implants restore more than chewing power; they protect the jawbone from resorption and keep neighboring teeth stable. Understanding each phase—from diagnostics to final polish—removes uncertainty and puts you in control of your orodental health journey. If you have questions about candidacy or financing, schedule a consultation with a trusted implant provider and take the first step toward a stronger smile.
Author's Bio

Dr. Matta Botrous
Dr. Matta Botrous provides Dental Implant treatment to replace missing teeth and support oral function. Implant planning focuses on stability, comfort, and long-term use. Each case is evaluated carefully. Patients considering implants receive clear explanations of options.